
Chasing Ghosts in the Silicon: A Case Study in BitLocker & Intel Optane Recovery
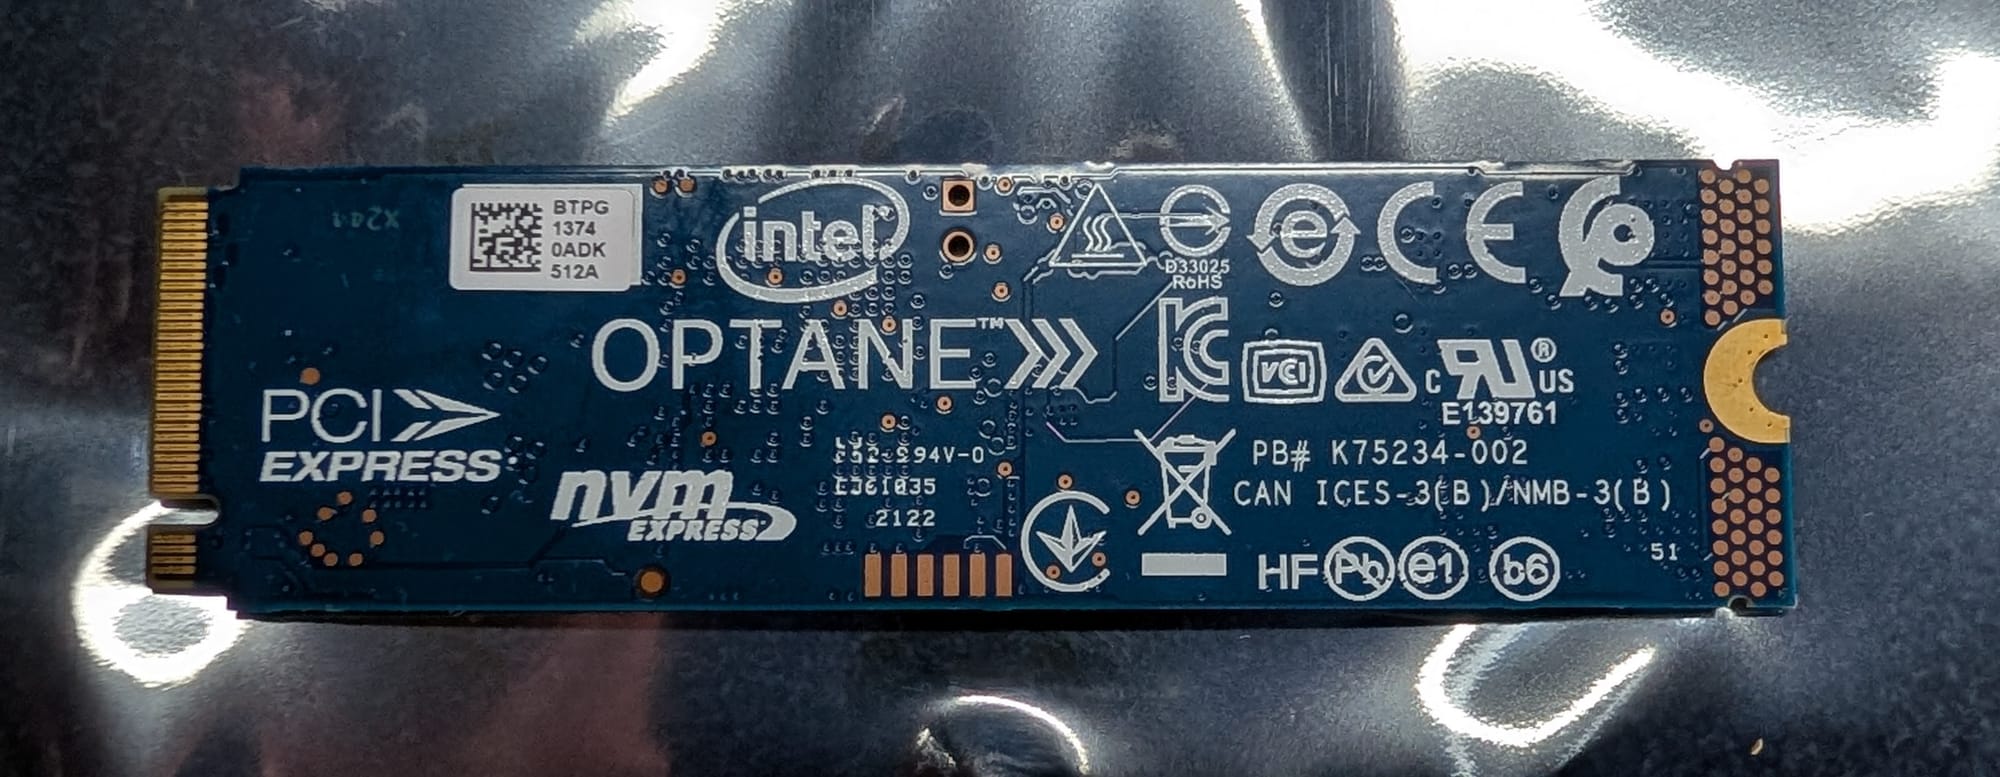
At Tranquil IT, we often say that data recovery is less about luck and more about disciplined, scientific engineering. Recently, we were presented with a scenario that perfectly illustrated this ethos. A data recovery case involving a dead solid-state NVMe drive, corrupted BitLocker encryption, a highly complex hardware architecture and a series of technical hurdles that would have forced most IT professionals to declare the data permanently lost, but not us!
We will take you through how we bypassed standard operating system limitations, dug into raw disk sectors with a hex editor, and ultimately brought a client's critical business data back from the brink of digital oblivion.
How it all started: A Cryptographic Maze
The client arrived to our Stansted Mountfitchet site with a modern, HP laptop that had suddenly failed to boot. The machine utilised an Intel Optane H-Series Hybrid NVMe SSD.
To understand why this was a recovery nightmare, you have to understand the architecture. An Intel Optane Hybrid drive is not a single storage device. Instead, it places two physically distinct controllers and NAND storage types onto a single M.2 circuit board:
The first
An ultra-fast 16GB or 32GB 3D XPoint "Optane" cache module.
The second
A larger, standard 512GB QLC NAND flash storage drive.
Intel's driver suite fuses these two logical devices together, using the fast Optane module as a "write-back cache." Frequently used operating system files, filesystem journals, and write buffers are held in the cache and only flushed back to the slower QLC NAND when convenient.
To make things even more challenging, the drive was also secured with Microsoft BitLocker Encryption.
The Failure State
The physical Optane cache module on the M.2 stick had suffered a sudden, catastrophic hardware failure. When it died, it took all of the unflushed cache data with it.
Because file system metadata is the most frequently written data on a computer, the Master File Table (MFT) and the NTFS Boot Sectors were sitting in the cache when the hardware failed. The main QLC NAND flash memory survived, but its "index" (the map that tells the computer where files begin and end) was completely corrupted.
Worse yet, this corrupted data was locked behind a wall of BitLocker AES ciphertext.
Phase 1: Securing the Payload (The Linux Clone)
When dealing with failing NAND flash memory, time is the greatest enemy. Every read request, power cycle, or software utility scan puts physical stress on the drive controller, risking a permanent lock-up of the failing device.
The most paramount rule of professional data recovery is simple:
Never work on the original media.
We immediately booted into a secure Linux forensics environment to take a bit-for-bit, block-level clone of the drive using a great little tool called ddrescue.
sudo ddrescue -f -n /dev/nvme0n1 /dev/sdb /root/recovery.map
The clone finished without error, which we found surprising. On paper, we had a mathematically perfect copy of the client’s physical sectors on our secure, healthy recovery drive. We could now put the original failing hardware safely in a static bag and do all our destructive testing on the clone.
Phase 2: How many False Starts can you Count?
With a healthy 3TB clone in hand, we connected it to our Windows recovery workstation. This is where we encountered our first major wall.
Windows recognised the 3TB drive, but declared the partition layout as completely RAW and uninitialised.
We attempted to query the BitLocker status of the drive letter Windows assigned to the raw volume:
manage-bde -status F:
The system returned a bizarre false positive, claiming the volume was "already unlocked" but showing:
BitLocker Version: None
Key Protectors: None Found
Because Windows couldn't find a valid partition boundary or NTFS boot sector, the native Windows Mount Manager was failing to bind the BitLocker filter driver to the volume. Initially we tried using TestDisk: an industry-standard partition recovery tool to attempt to reconstruct the boot sector.
TestDisk scanned the drive and labelled it Unknown. We manually defined the filesystem as HPFS - NTFS and ran a Master File Table (MFT) rebuild.
TestDisk spent hours scanning all 3TB of sector space, only to return another bleak looking result:
Boot sector: Bad
Backup boot sector: Bad
Sectors are not identical.
A valid NTFS Boot sector must be present in order to access any data.
At this point, things looked bad and we notified the client that any further recovery attempt would need to pivot to "Raw File Carving": this means using tools to scan the raw decrypted ciphertext for file signatures (like .pdf or .docx magic bytes) and dumping them without names, file structures, or directories.
After all of this, our engineers weren't convinced that all was lost. A perfect ddrescue clone meant the BitLocker partition header (-FVE-FS-) had to be on that disk somewhere!
Phase 3: Missing Link (Hex Analysis)
In data recovery, if the software isn't finding the data, you must stop guessing and start gathering evidence.
To see what was going on with the clone, we opened the raw physical disk directly in HxD, a low-level hexadecimal editor, which allowed us to inspect the sectors manually. What we saw in Sector 0 was a massive diagnostic breakthrough.
Instead of a standard Windows Master Boot Record (MBR) or GUID Partition Table (GPT), Sector 0 of our clone was filled with the following ASCII string: "This is a NAS data disk and can not boot system. System halted..."
This was a proprietary boot signature belonging to a NAS storage array. This 3TB drive had been used in our shop's testing pool in a previous life so this proved conclusively that the original ddrescue run had not successfully written to Sector 0 of this disk. To confirm we compared with the original source disk which indeed showed the expected (-FVE-FS-) partition header.
Things looked bleak now as we had cloned "nothing," leaving us scanning a drive full of old NAS data and encrypted noise.
But we were not ready to give up just yet.....
Phase 4: The Final Hail Mary
Now that our engineers understood the map, we went back to the drawing board in our Linux kernel.
First we physically zeroed out Sector 0 of the target 3TB disk to guarantee no "ghost" filesystem metadata remained to confuse our recovery scanners:
sudo dd if=/dev/zero of=/dev/sdb bs=1M count=100 status=progress
We then verified the exact Linux storage paths. The dead Optane cache was completely bypassed, and we targeted the 475.7GB Microsoft Basic Data namespace (/dev/nvme0n1).
With the Optane chip isolated we ran a fresh ddrescue directly to the cleared target drive.
Low-Level Cryptographic Verification
Once completed, we refused to connect the drive to Windows until we proved mathematically that the encrypted payload was present. We ran a hex dump in the Linux terminal targeting the exact sector where a standard UEFI Windows installation begins its primary data partition (LBA 567296):
sudo hexdump -C -s $((567296 * 512)) -n 512 /dev/sdb
The terminal output was a sight for sore eyes!
11500000 eb 58 90 2d 46 56 45 2d 46 53 2d 00 02 08 00 00 |.X.-FVE-FS-.....|
There it was: -FVE-FS-—the signature of a Microsoft BitLocker volume, sitting precisely at byte offset 290,455,552 (LBA 567296).
The Win!
We connected the newly cloned, verified drive back to our workstation.
Instantly, the Windows Mount Manager recognised the GPT boundaries. Windows didn't see "RAW" space any more; instead it saw a legitimate, protected BitLocker partition. The system then immediately handed off control to the Windows Boot Manager, displaying the iconic bright blue BitLocker Recovery screen on our test-bench monitor and prompting us for the client's 48-digit key.
At this stage we removed the drive to our extraction workstation and entered the recovery key the client had provided. The encryption layer unlocked flawlessly, the files decrypted in real-time, and there were all the clients files, Windows install and all. Every single document, local database, browser cookie, desktop folder, and application state was completely intact. No raw carving, no lost file names, and no broken file structures.
This was it - We we finally there. Hail Mary aside, we're glad we didn't just give up.
The Tranquil IT Difference
The take away from this whole blog is that this recovery show you EXACTLY why specialised expertise matters.
Had we relied on automatic, point-and-click software, we would have concluded that the drive's file system was permanently corrupt, resulting in a tedious and labour intensive, raw recovery of unnamed files.
Instead of handing back a loss to a client: we were not only able to recover the data and work through a what seemed an unsolvable issue - We were able to give our client back thier work files, precious memories and more. That in itself is invaluable and what true professional IT services is all about.
By stepping back, inspecting the raw disk geometry at the hexadecimal level, validating our block sizes, and correcting the drive namespaces, we achieved a 100% data recovery rate when it truly looked like all was lost.
This is also a stark reminder to always follow the 3-2-1 Data Back- Up Rule so that should the worst possible situation happen - You have at least one copy of your data backed up.
If your business is facing a critical storage failure, don't guess. Bring it to the engineers who speak silicon.
Tranquil IT—Calm, Precise, Engineered.